How to Collect User Feedback using BugFeedr
As developers it can be difficult to collect feedback from our clients and users in a structured, meaningful and actionable way. BugFeedr makes this process much more simple, read more to learn how to use BugFeedr.
First Visit
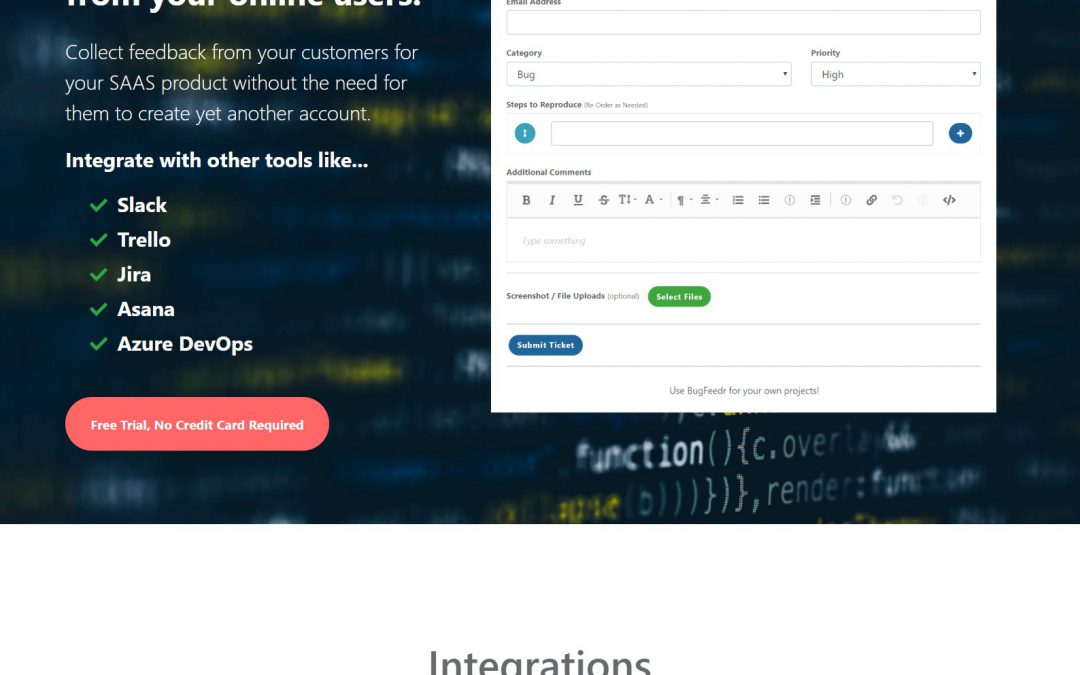
When you first come to BugFeedr you are presented with a simple, one-page site outlining the features, screenshot of the submission form and details regarding pricing.
BugFeedr is geared towards developers, makers, entrepreneurs who are building both client software and SAAS applications for a larger audience. We have integrations with Slack, Trello, Jira, Asana and Azure DevOps to make it easy to push feedback from your users back into the tools your teams use every day.

Registration / Login
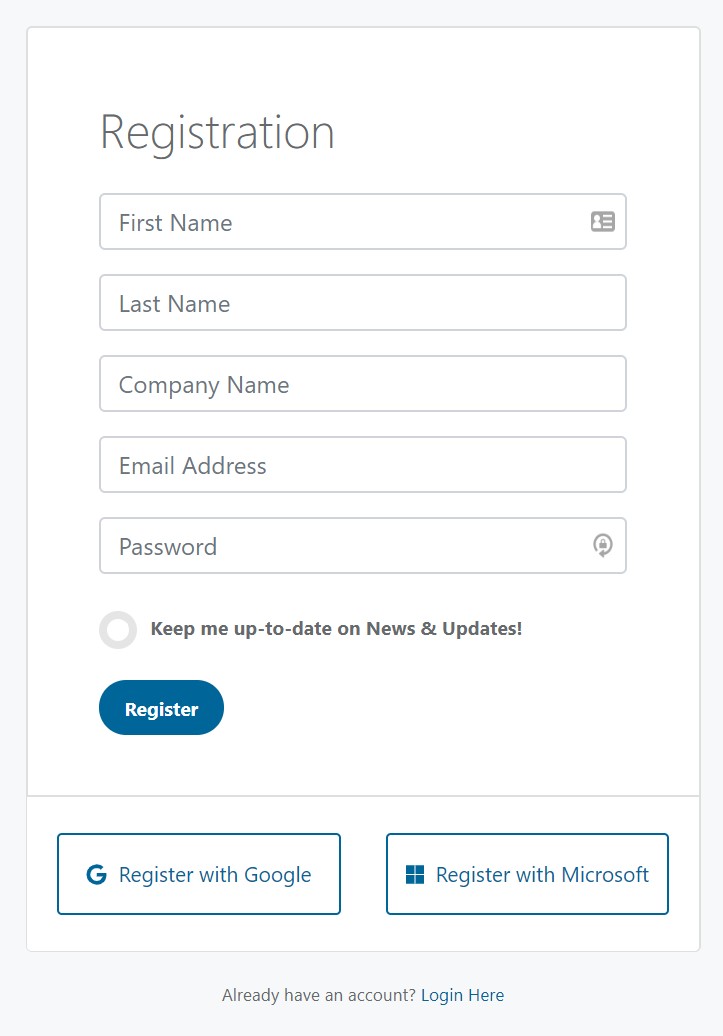
Throughout the homepage there are numerous ways to get to the registration page, we have very simple requirements to join. Simply enter your Name, Company Name, Email and Password and then Register.
If you prefer, we also offer the option to join with a Google or Microsoft account.
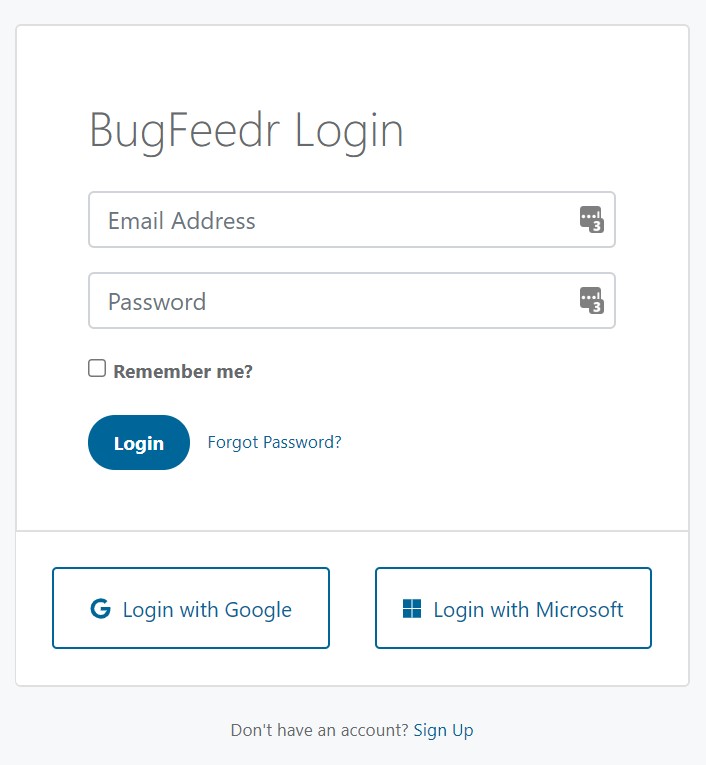
After you have registered and return to the site, it’s quick to Login as well.
1. Clients
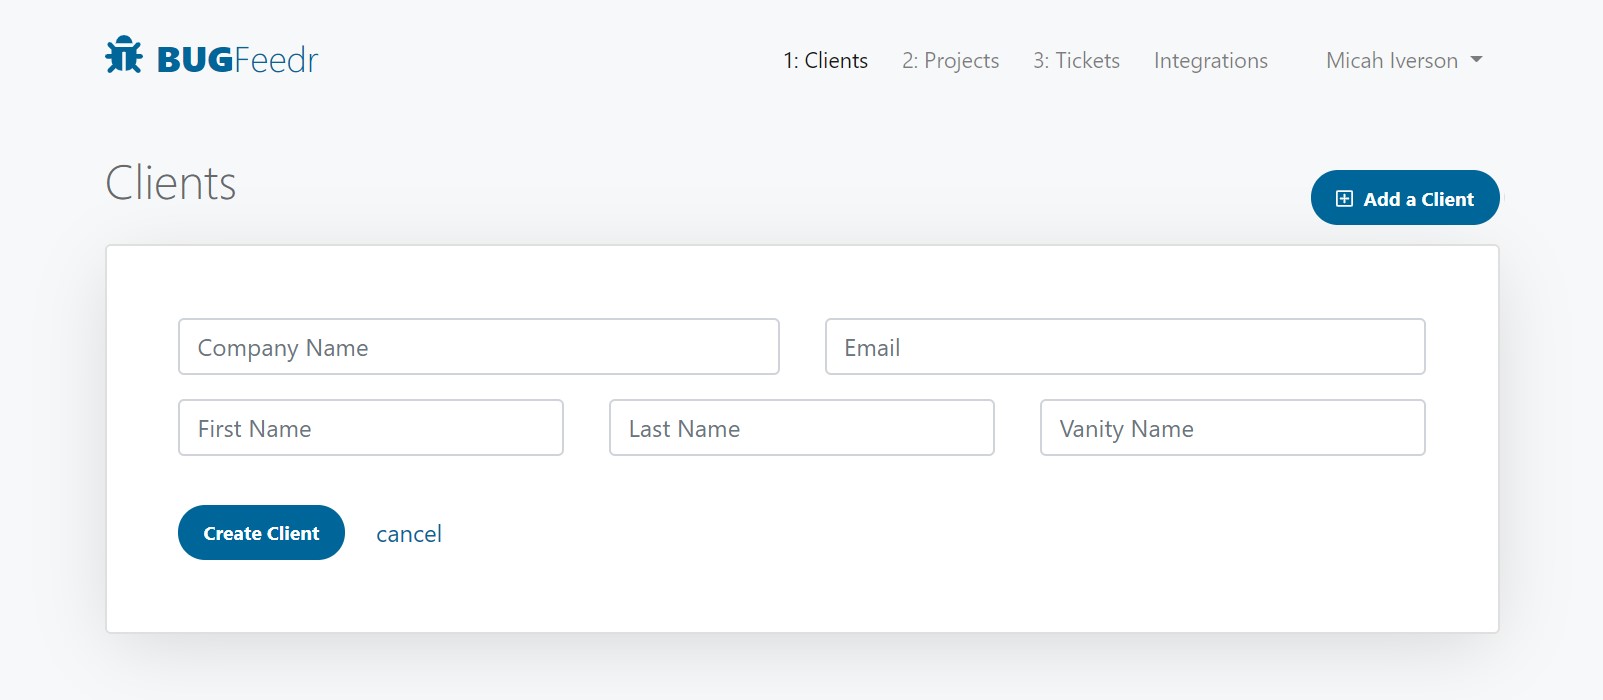
There are essentially 3 primary steps to get setup to start accepting Tickets for your project. The first step is to create a new “Client”.
The Client is who “Owns” the project, so you may be a freelance developer who has several Clients you work with, you would enter their information on this Add Client screen so that you can easily reference their information later. (Nothing is sent to your client, this is for simply for you.) Alternately, the Client could be You, maybe you are an indie maker and you build a bunch of projects, you would be your own client in this case.
The “Vanity Name” is included in the Feedback Form Url, so it’s important to put a value here that is relevant to the client. Also keep in mind, one client may have multiple projects under them.
First Client
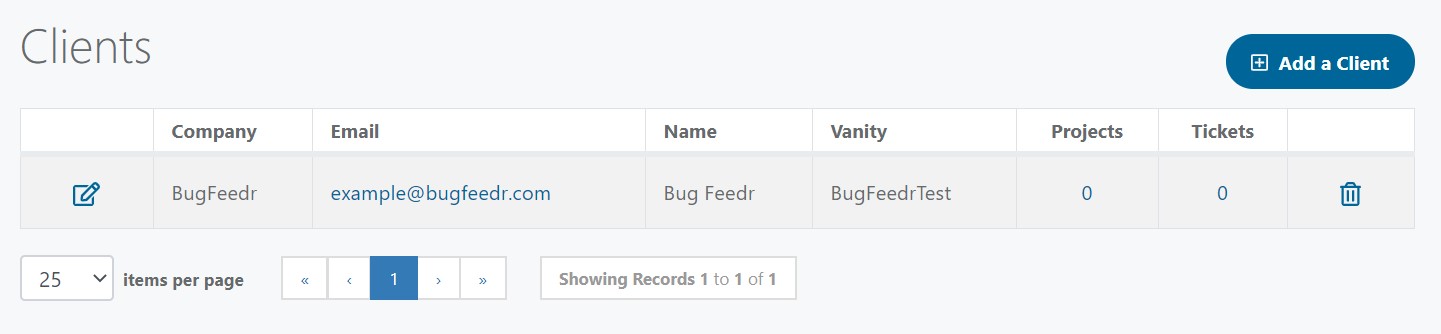
The screenshot below shows what the screen looks like after you have added your first client.
The icon on the far left allows you to edit client information. Then you can see the company name, email, client name, vanity url and how many projects and tickets each client has.
2. Projects
Once you have added a Client, it’s now time to add a Project under that Client.
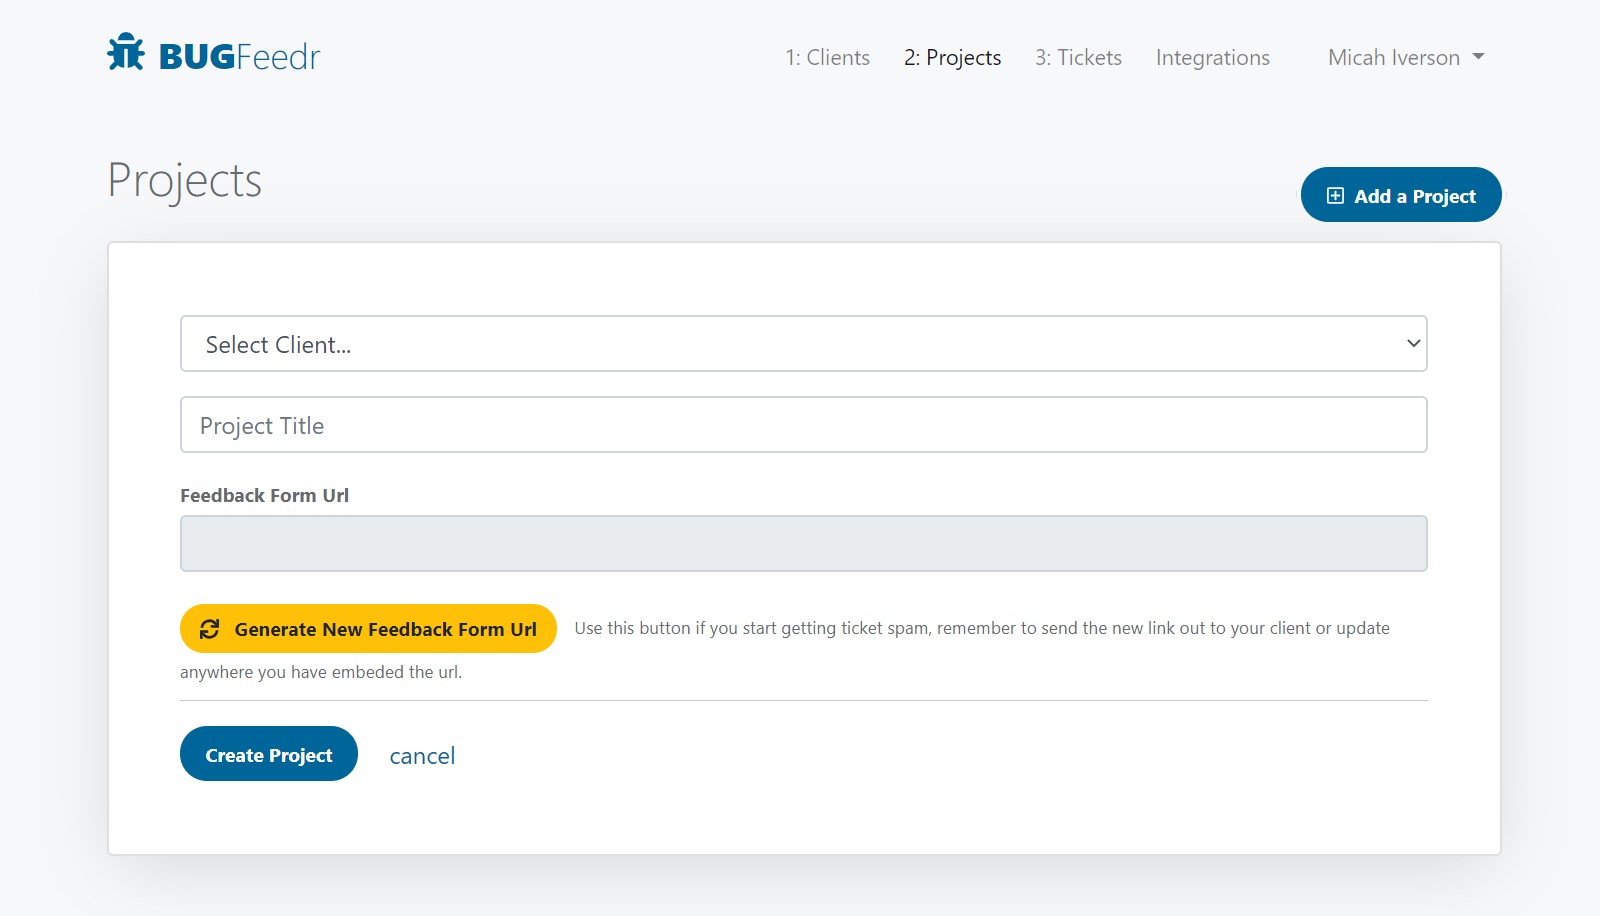
On the Projects page click “Add a Project”, from here you can select a Client from the drop down list. Next, add a title for the project, this might be the name of the website, or code name you are using.
We’ll automatically generate a “Feedback form Url” for you, this url is what you will use to access the feedback form for this project. In some instances you may want to generate a new Url due to people leaving the team and you no long want them accessing the feedback form again, or maybe spammers got a hold of the url and you are getting junk feedback. Simply come back to this page, click the Generate new Url button and use that going forward.
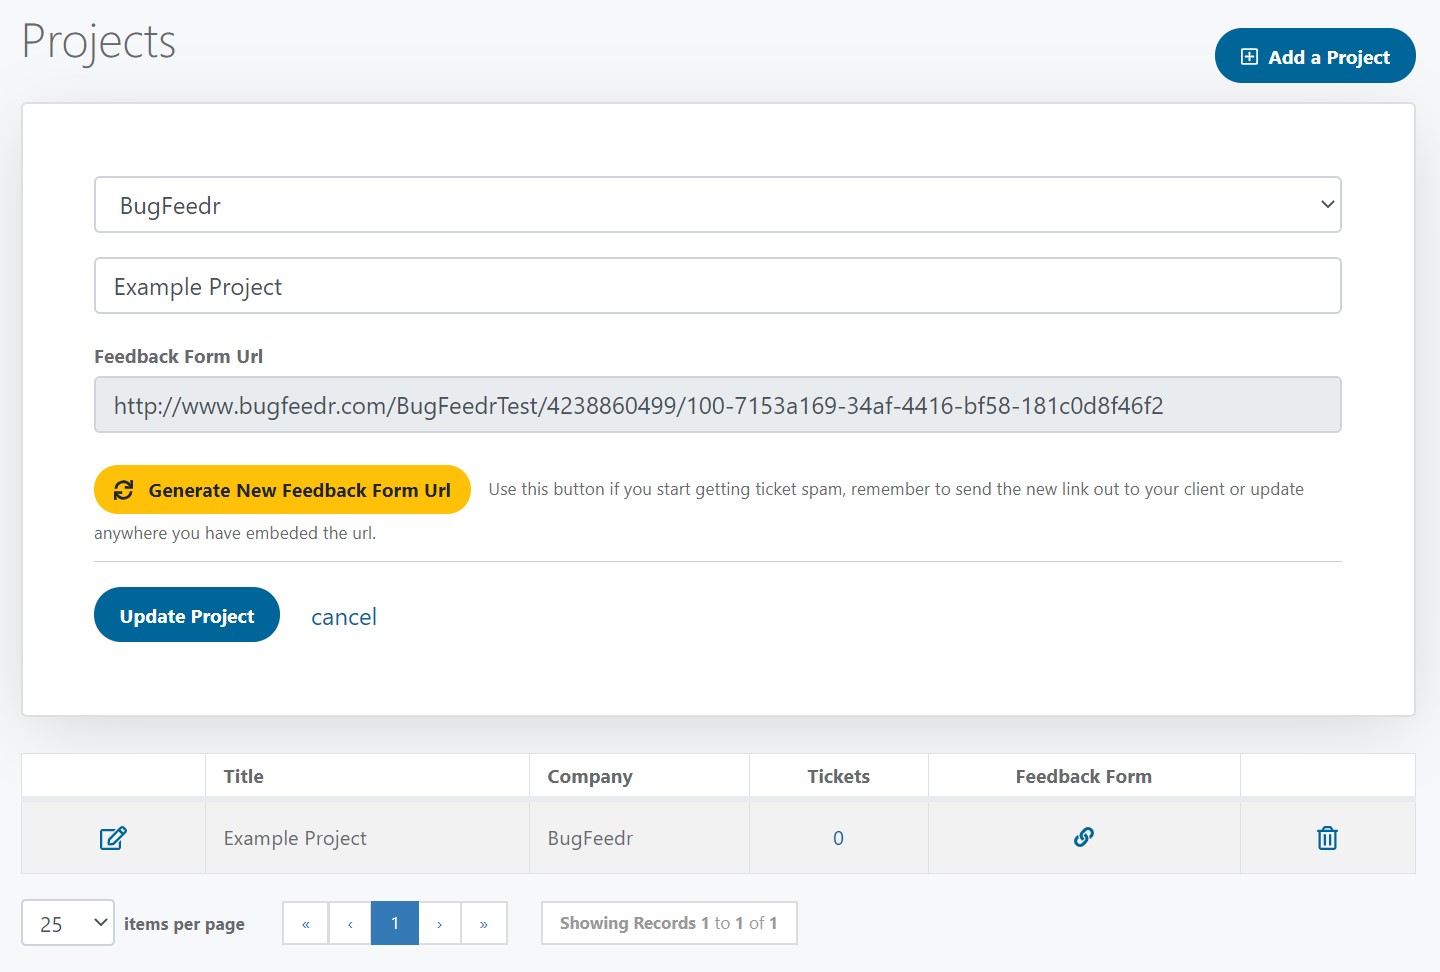
Here you can see the form populated with content and how your first project looks on the page.
If you look below, there is a column titled “Feedback Form”, this icon will open a new window and display the feedback form for your project, this is the url you will send to your client, embed as a link on your site or use in an iFrame to embed on a site directly.
Feedback Form
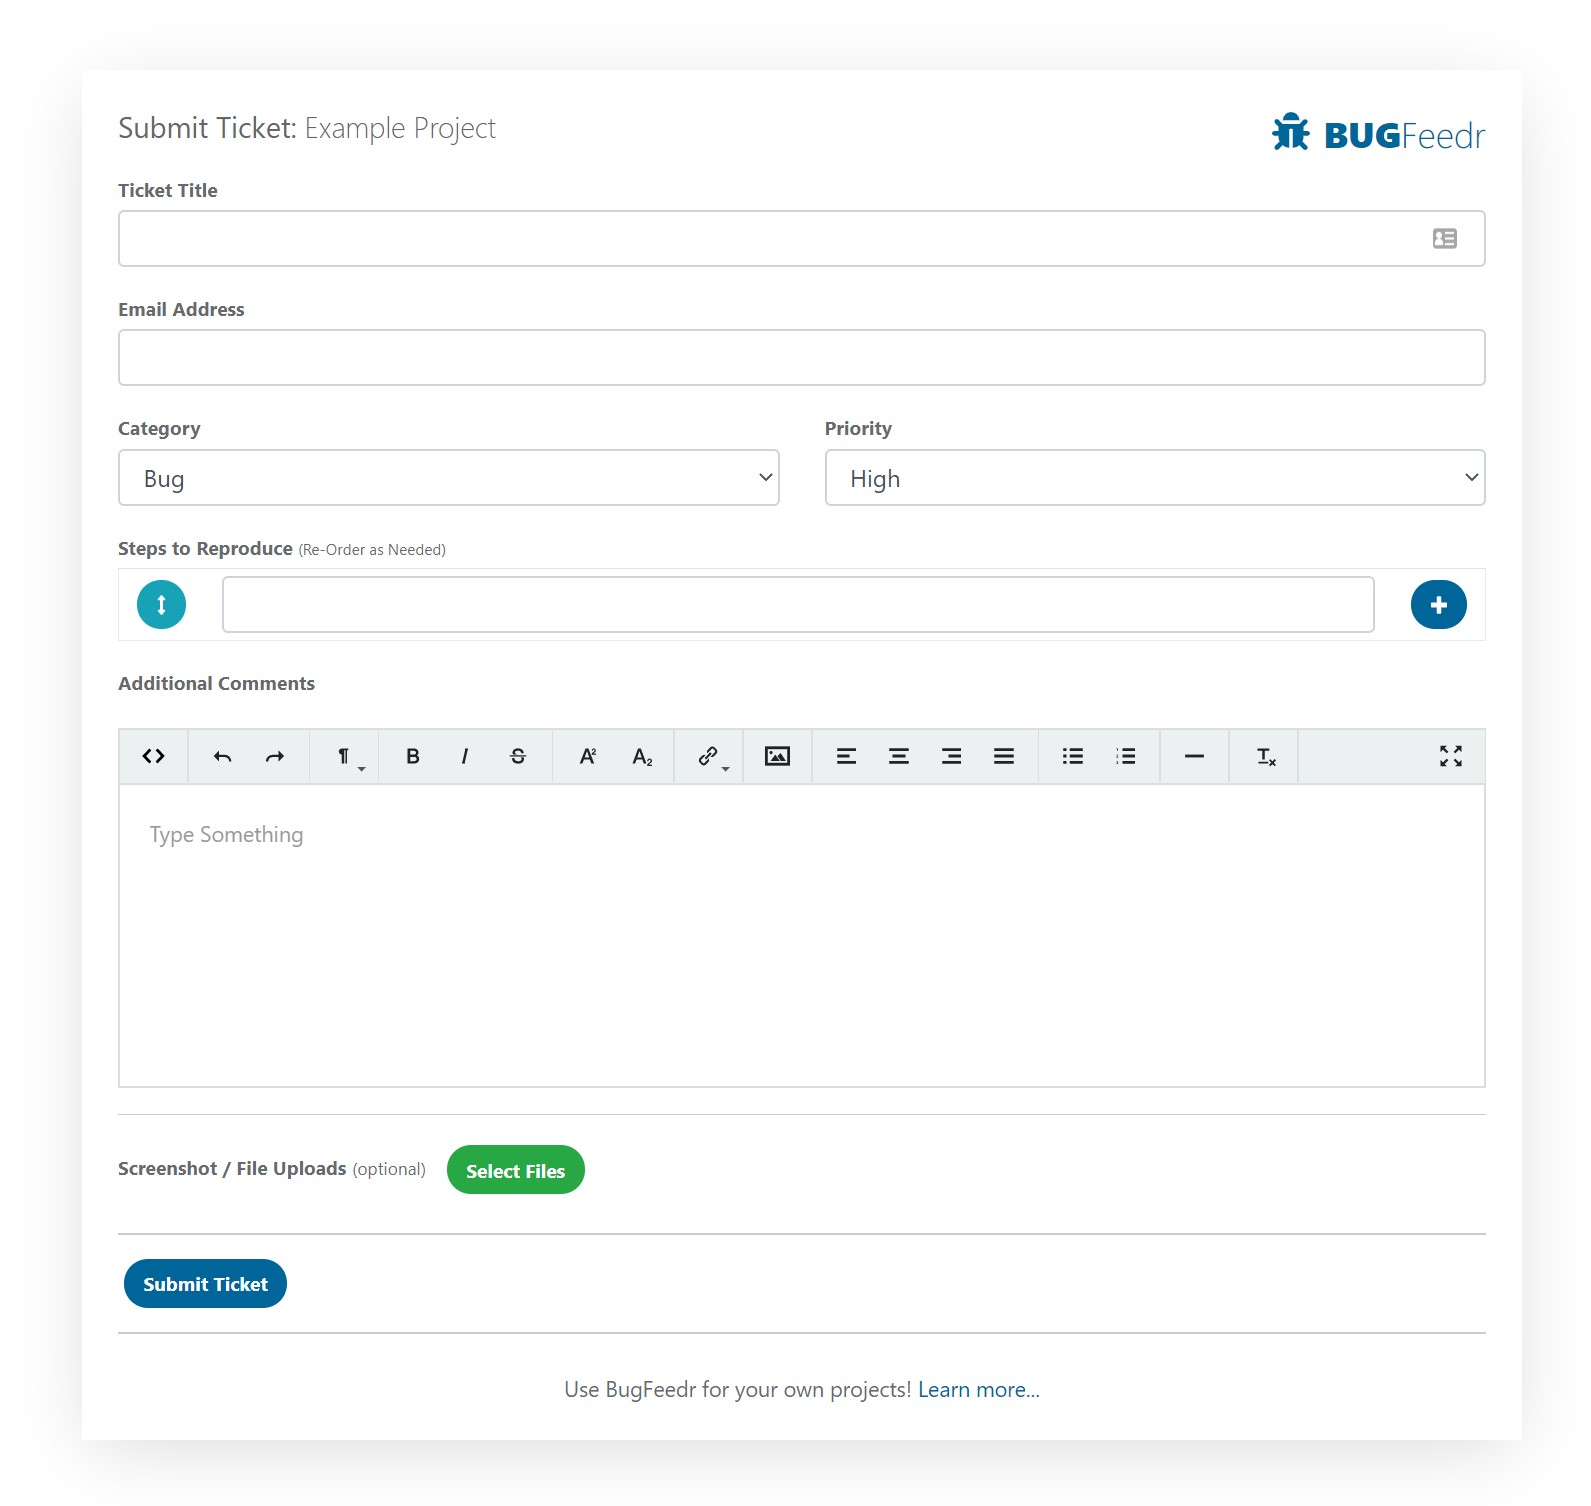
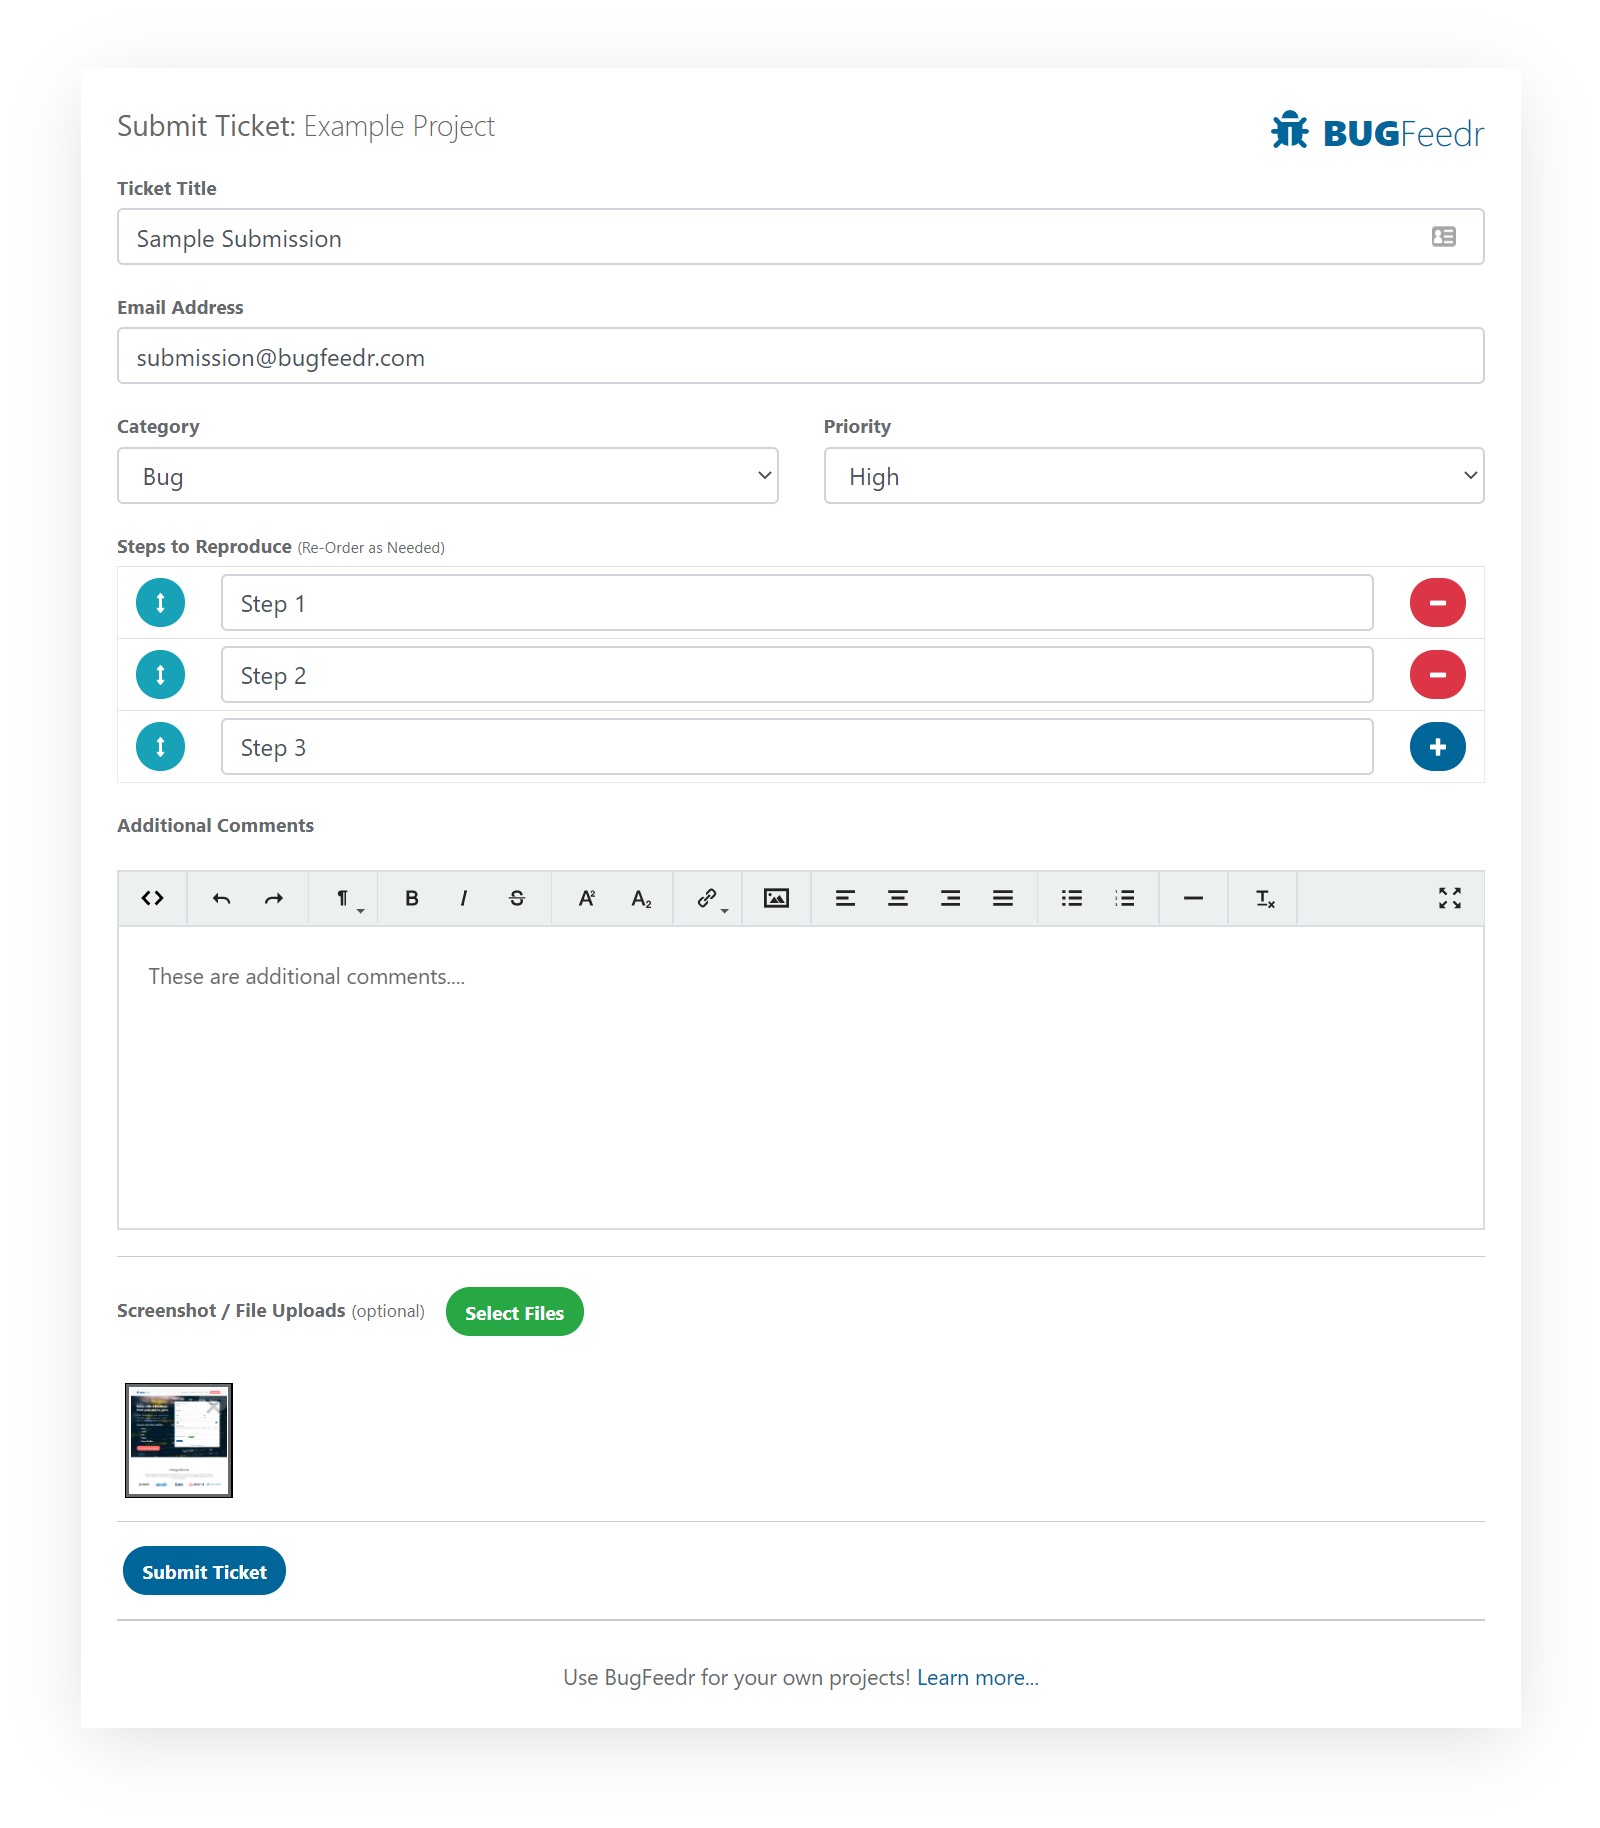
Shown below is what our feedback form currently looks like…
- First we show the “Project Title” so you and your users know that they are using the correct form for the correct site.
- Next we have some basic fields, Title of the Ticket, their Email Address so you can follow up with the user about their ticket if needed.
- Next we have a couple drop downs to help define the type of ticket. The user can submit a Bug, New Task, Enhancement, Question or other. They can also define it’s Priority so you have a general idea of how urgent the ticket is.
- The next section allows the user to enter step-by-step directions on how to reproduce the issue, they can add as many steps as they want and even re-order if they had to add something they forgot when they started.
- We also provide an HTML Rich text area to allow the user to add free-form comments that may be helpful to you.
- Lastly, the user can attach screenshots to help you better understand the issues they are seeing.
Once, the user has completed the form, they simply click “Submit Ticket” and it’s sent to you for review. The user can continue submitting additional tickets if needed.
There are many ways to actually use the form, you can send a link to your client through an email, you can add a link someplace on your site (we often add it to the footer), you can use an iFrame and embed the form directly on your site, or if you have a native app, you could use a Webview and embed the form directly in the app.
Here you can see an example submission before it has been submitted.
3. Tickets
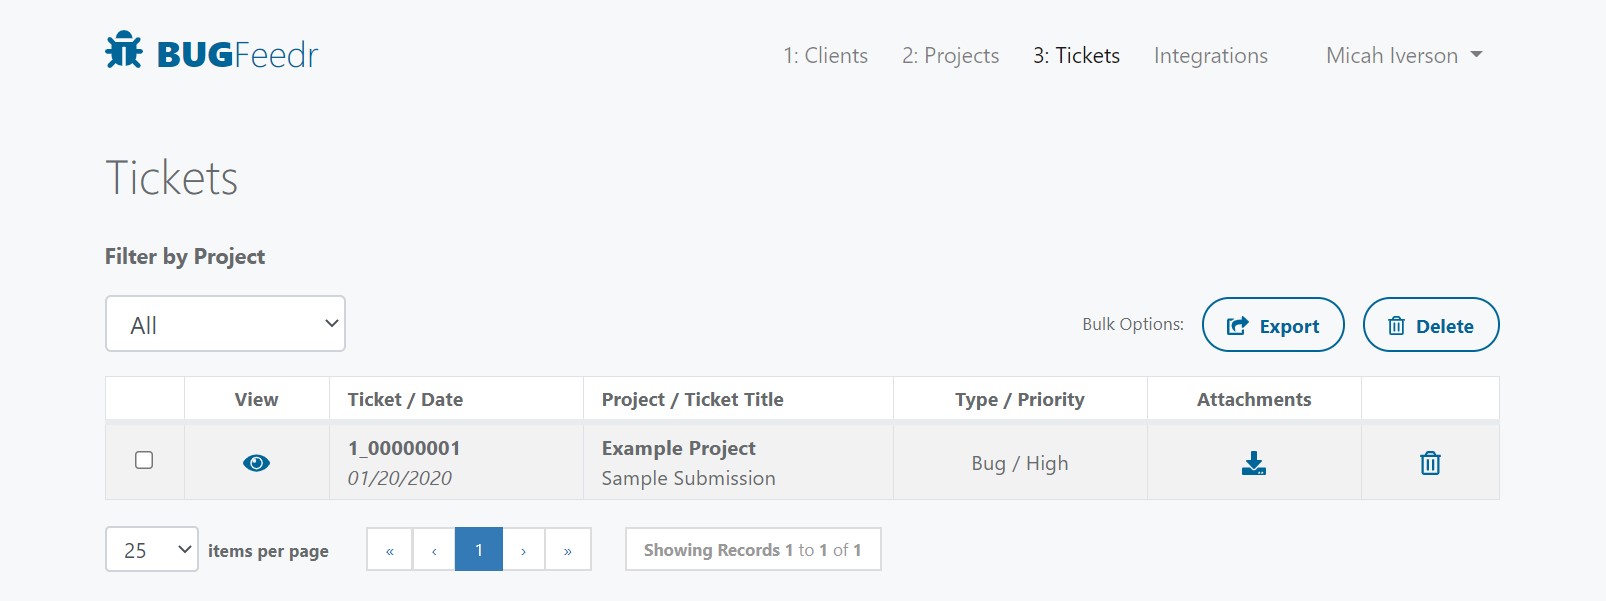
Once Tickets have been submitted, you will see them on the Tickets page. You can filter Tickets by specific projects so you can focus a bit easier. You can select multiple tickets at once if you want to bulk export them or bulk delete them.
You can use the “Eye” icon to go look at the Ticket in detail, we also show the Ticket number and date it was submitted. We also show a few more specific details plus a link to download all the attachments attached to the Ticket.
Ticket Details
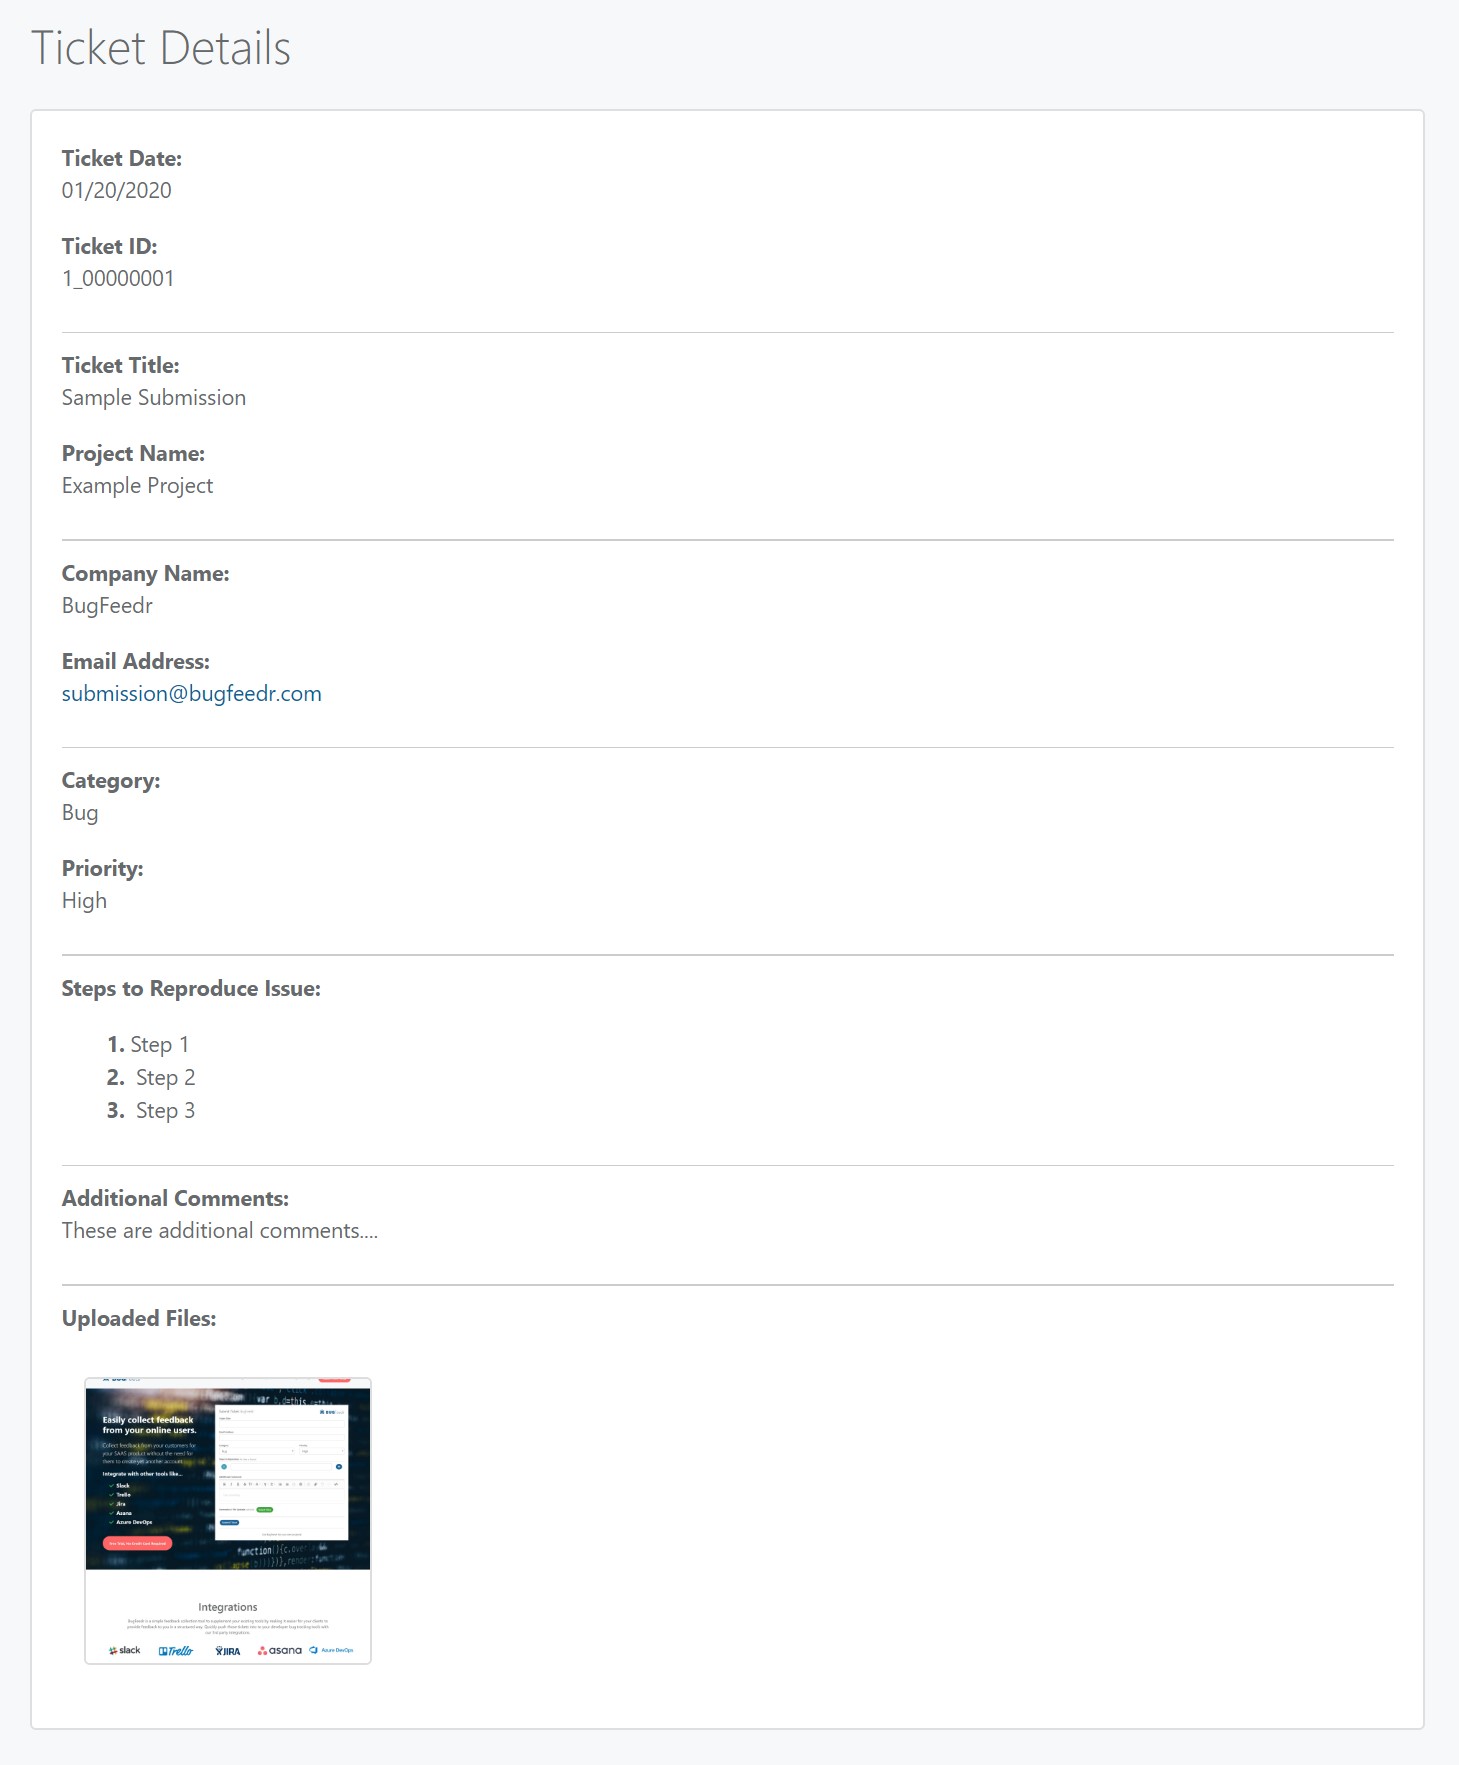
The Ticket Details page shows a few auto-generated details like the Date and Ticket Id, along with all the specific information the user submitted through the feedback form.
At the very bottom, you can also see the attachments the user added, if you click on them the open up in a larger view.
Integrations
There are multiple ways to deal with Tickets one they have come in, you can simply view them and fix the related bug and then simply delete the Ticket from the system. You could export the Tickets to Excel and then remove from the system.
If you are part of a team, your best option is likely to setup Integrations with the tools your team is already using. We offer 5 common Ticket tracking tool to integrate with, Trello, Asana, Jira, Slack and Azure Dev Ops.
To make a connection, simple click the “Connect to…” button for the service you want to connect with, authorize the connection and that’s it!
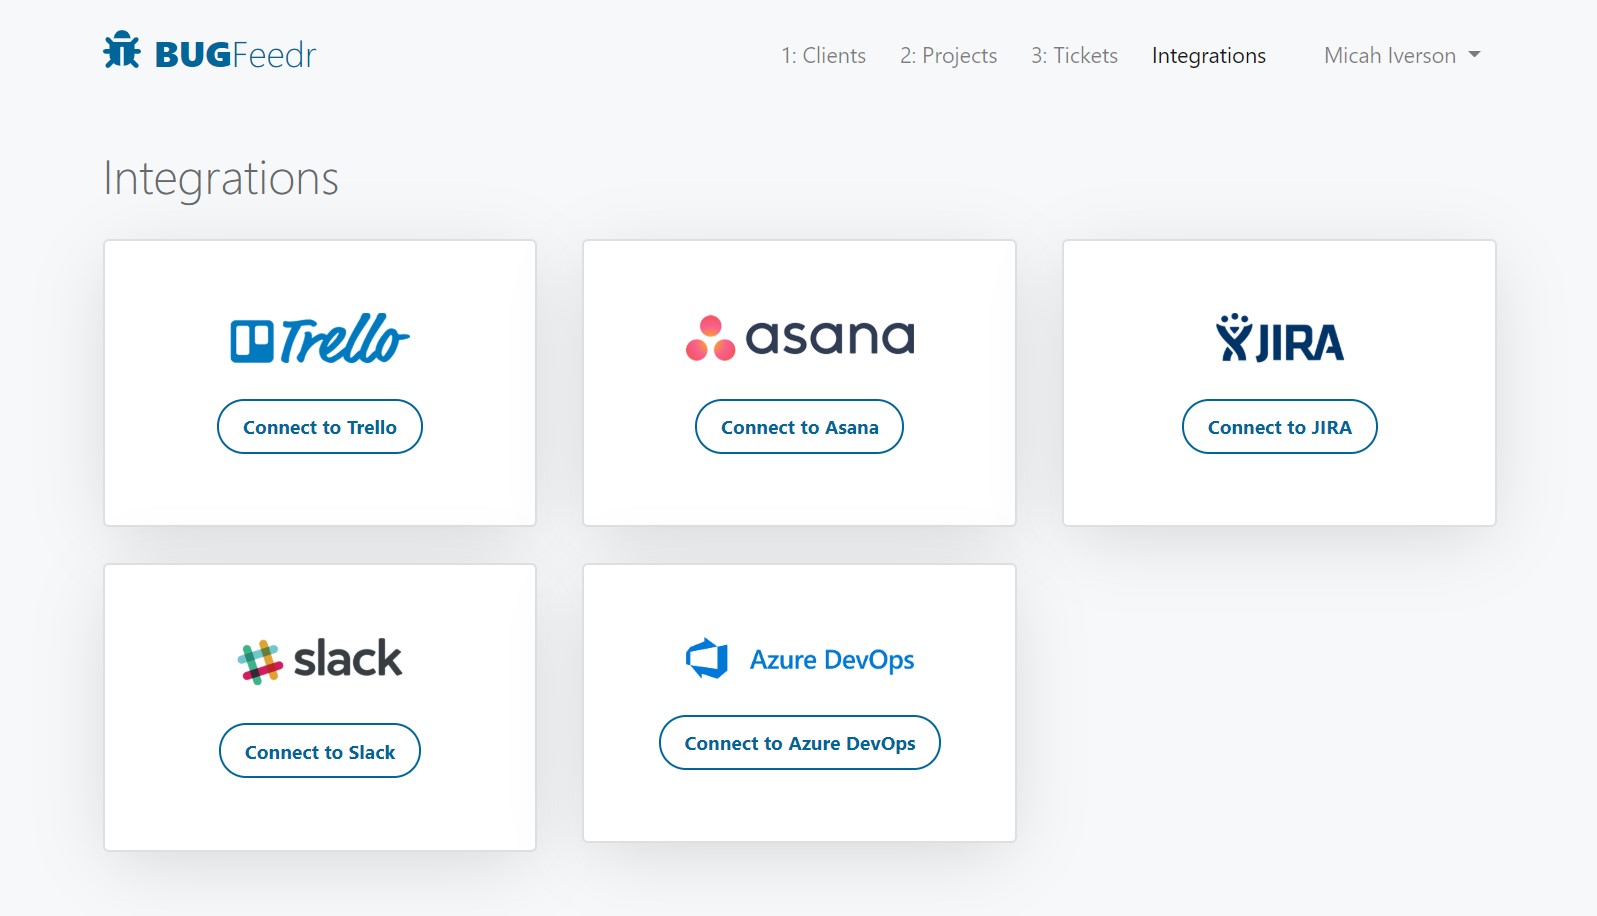
If you no longer want the integration, simply click the “Remove Integration” button.
How to Use an Integration
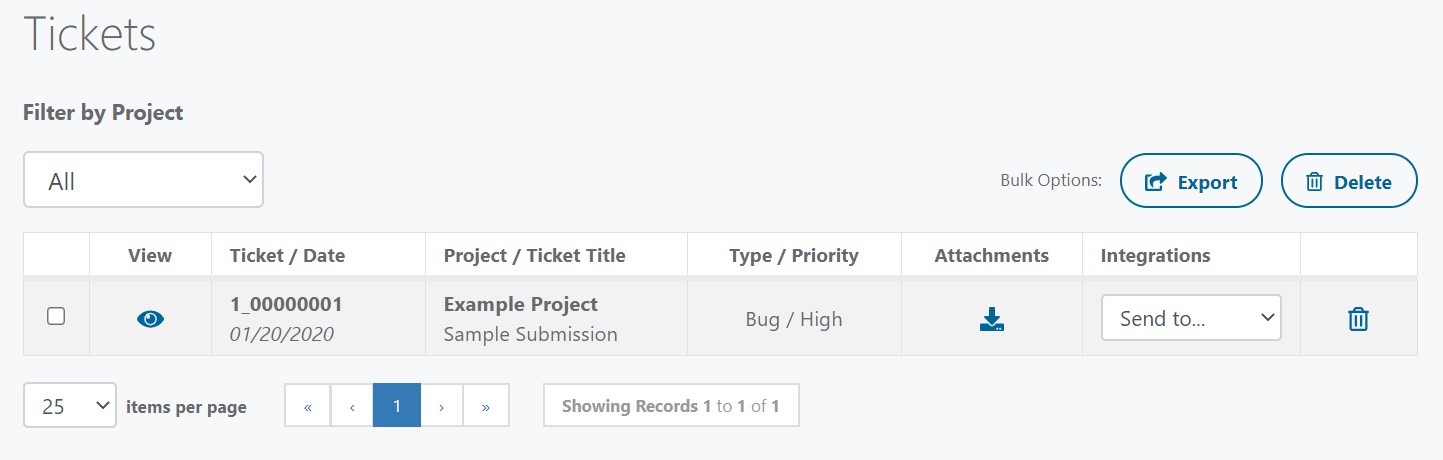
Now that you have connected to your 3rd Party Integration, it’s time to actually use it, to do that, you need to go back to your Tickets page.
On the Tickets screen (assuming you have a ticket), you will see a new column called “Integrations”, from here you can select the integration you want to use for that specific Ticket. Can could, in theory setup all 5 integrations if your company uses them.
Integration Pop-Up
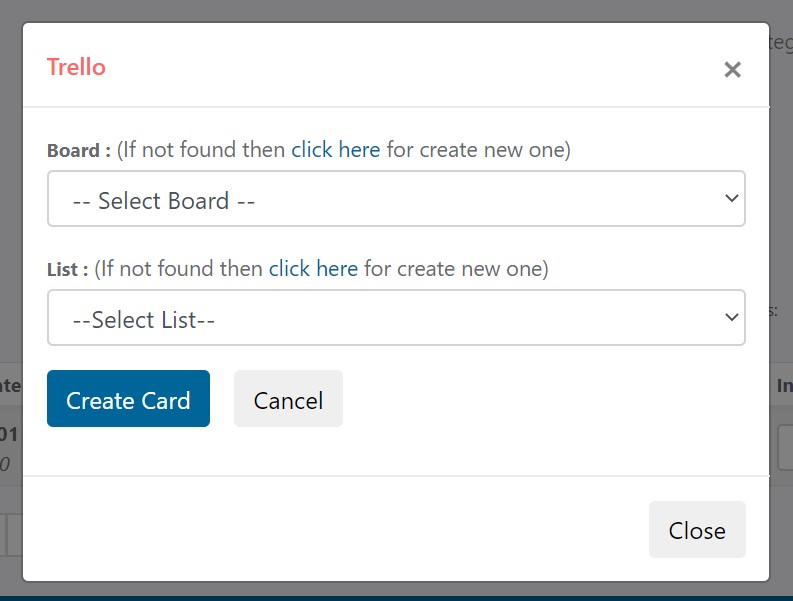
Once you have selected an Integration option from the drop down, you will be presented with a modal pop-up that will allow you to select where within that Integration you want to send the Ticket.
You can first select or create a new Board, then you can select or create a new List, once your options have been defined, simply click the “Create Card” button and off it will go to your other tool.
Integration Preview
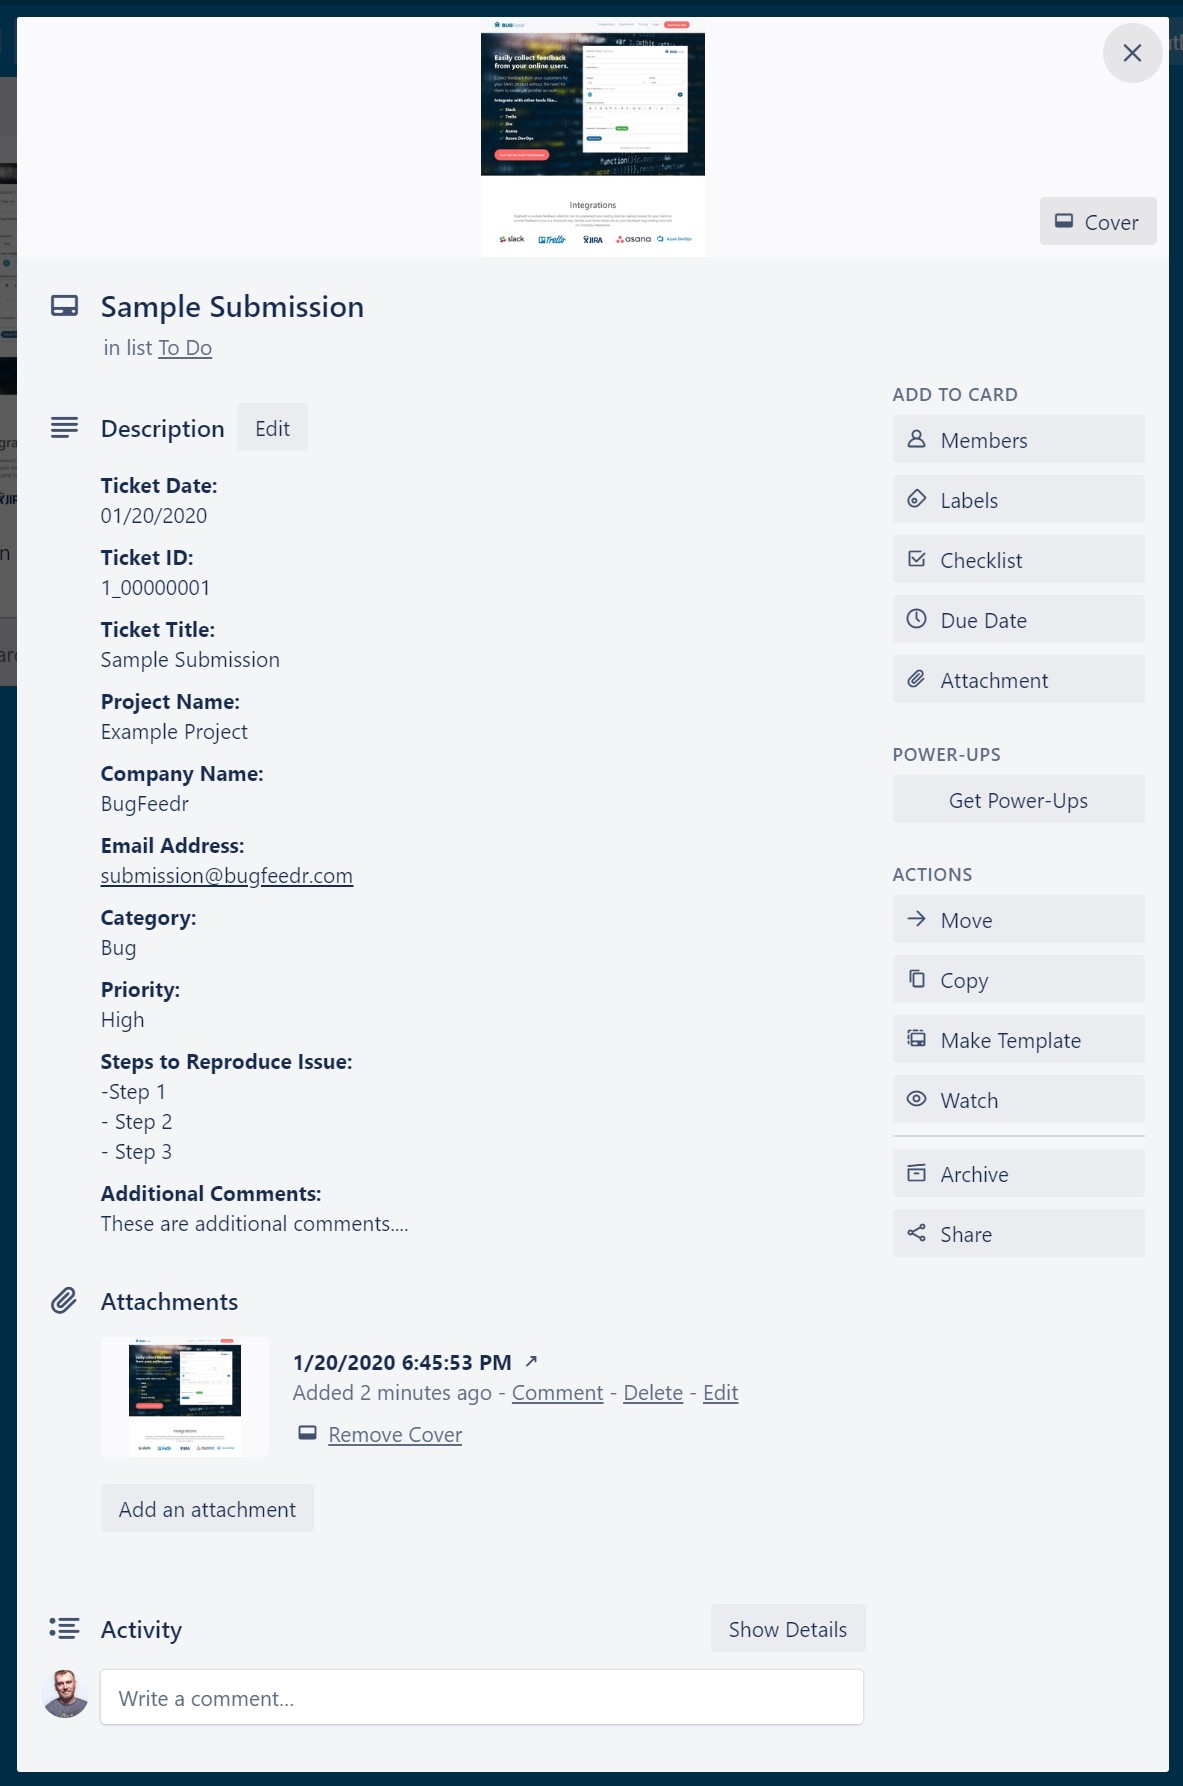
If you jump over to your external Integration provider, for instance Trello in this case. You will see the newly created card with all the same Ticket details that you get in the “Ticket Details” page within BugFeedr. Now you can assign it to the appropriate developer to keep the process moving forward in the tools your team is used to working with.

Here is the Trello Card expanded to show the Ticket details you passed from BugFeedr. Something to keep in mind, the Ticket still remains inside of BugFeedr at this point, you will still have to manually delete it if you no longer need it in BugFeedr.
Notifications
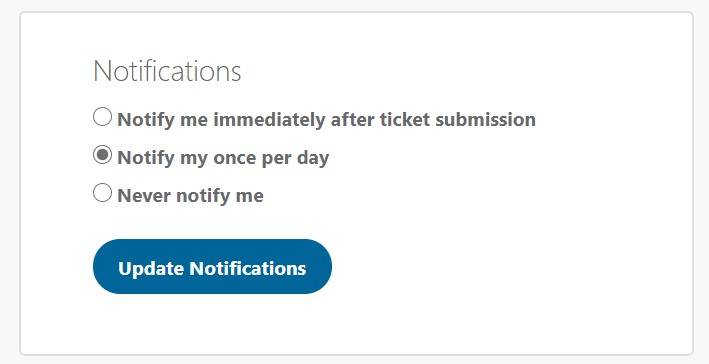
What good is user feedback if you don’t know it exists? If you go to your Profile Settings page, we have a section regarding how often you will receive notifications regarding submitted tickets.
We offer 3 options, 1. You can get notified immediately after the ticket has been submitted. 2. You can get notified once per day, this will give you a summary of all tickets once per day. 3. You can turn off notifications completely, we don’t recommend this unless you are consistently using BugFeedr everyday (which would be cool 🙂
Pricing
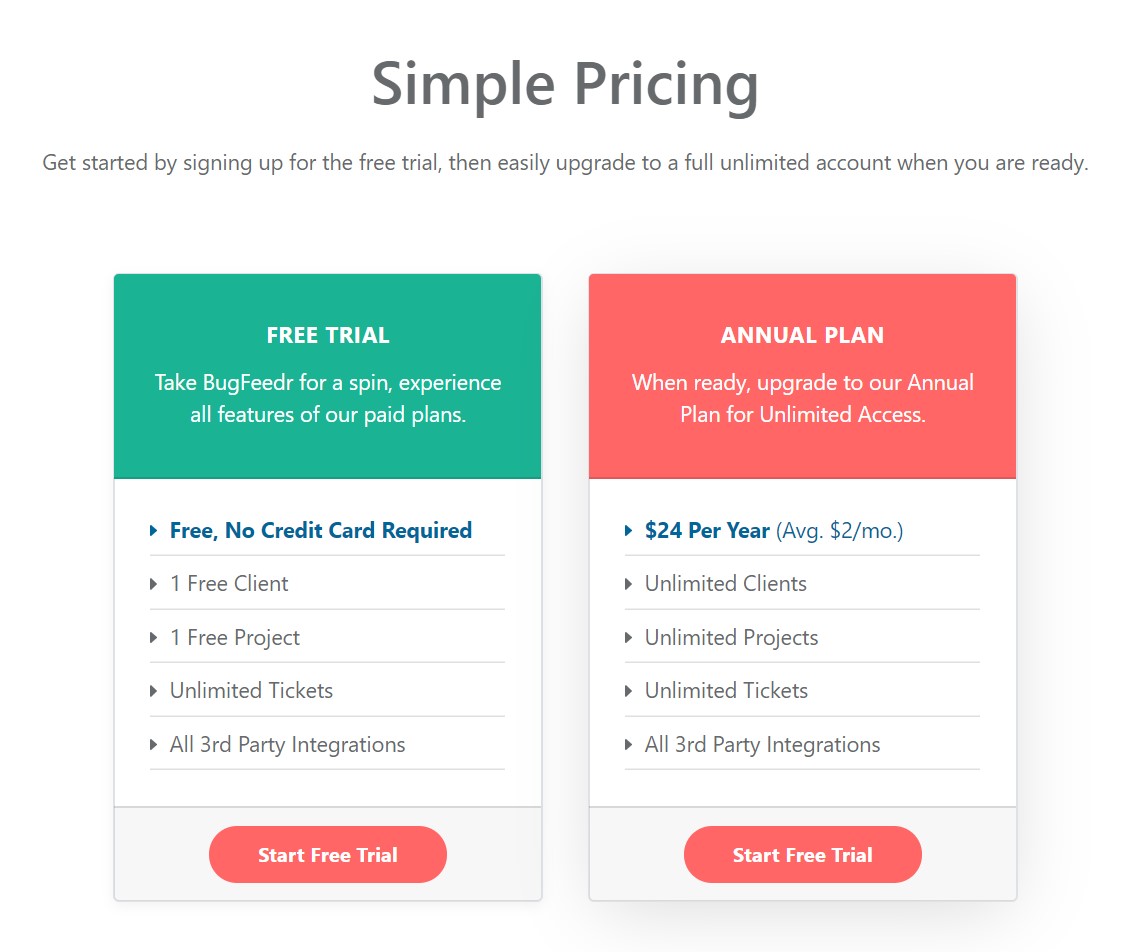
We understand that you have countless other tools and services that you subscribe to and likely paying lots of money for to use those services. We see ourselves as a compliment to those tools and have priced BugFeedr affordably so that we are not a drag on your budget.
You can give BugFeedr a try for free for 1 Client and 1 Project for as long as you want. When you are ready to expand, it’s easy to upgrade to our $24 Per Year Plan, that’s only $2 per month.
We personally use BugFeedr on all of our projects, it’s been a helpful tool in collecting feedback from our clients and users. We hope you find it useful as well. Come give BugFeedr a try!
Recent Comments